Those who saw the dawn of VCRs will probably find somewhere in the closet or in the attic a couple or two of old VHS cassettes that are a pity to throw away. They, most often, filmed weddings, some holidays and other significant events of past years.
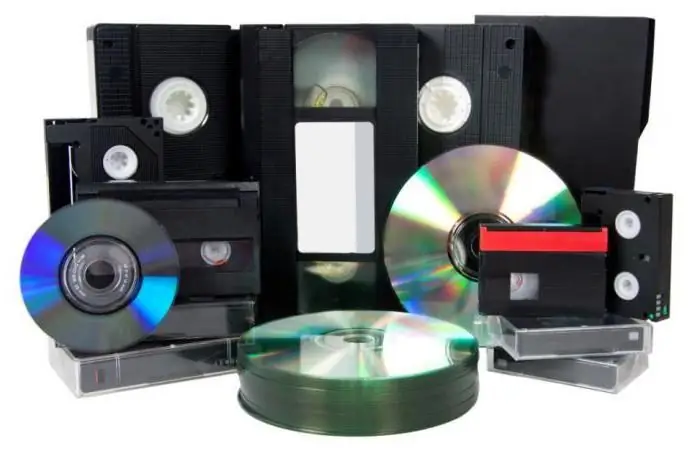
Modern technologies will allow you to get rid of unnecessary trash, while retaining all the information from old media. This process of transferring data to DVDs, flash drives or to an internal drive is called digitizing VHS cassettes. To do this, we need special software and some hardware. Both the first and second are easy to find, so the whole process is easily organized at home.
Before we digitize videocassettes, let's figure out what the VHS format is.
Videocassette formats
The VHS format began its history back in 1976. Such cassettes did not differ in high picture quality, but due to their cheapness they were in enviable demand among ordinary consumers. Actually, they are called media for home video systems (VHS / Video Home System).
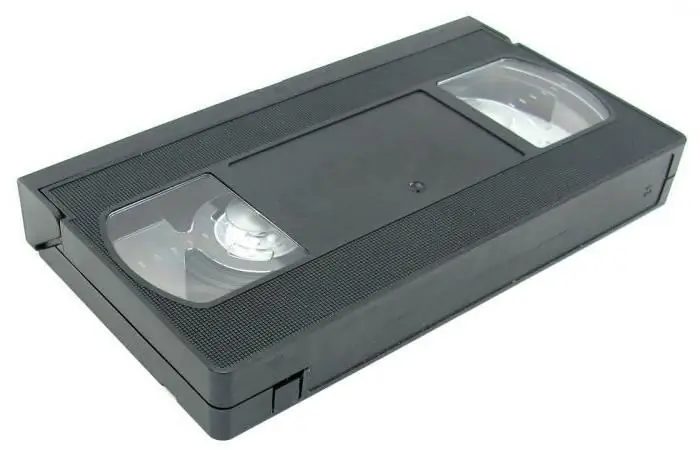
As a rule, the information on these devices was overwritten withother, more noble formats, so there was no talk of high quality. Three-hour media was considered the most popular volume, and most films on VHS-cassettes were one and a half hours long.
S-VHS
After ten years, in 1988, a new type appeared - Super-VHS. The Super prefix implied a more detailed and truthful picture on the screen, but such VHS format super-cassettes did not take root among the people because of their high cost. This type has the same construction as conventional media and is compatible with all standard VCRs.
VHS-S
The VHS-C format was developed in 1982 and found its way into compact (at that time) camcorders. The cassette differs from the usual media only in form factor - it is half the size and lighter. The tape used, as well as the quality of the recording, is similar to VHS. However, the output picture is slightly better, because the data was obtained directly from the camera itself, and not by overwriting.
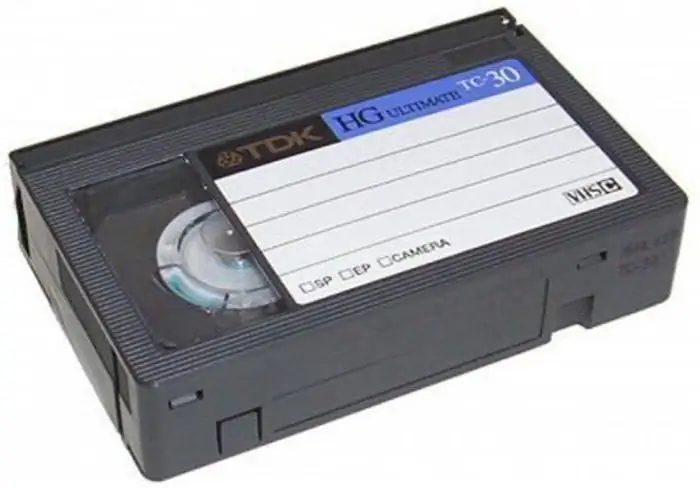
A cassette can take a much smaller amount of information, and in hourly terms it is somewhere around 45-60 minutes. The media is compatible with conventional VCR. To do this, you need a special adapter that looks like a regular video cassette, with the only difference being that a small VHS-C-format is inserted into it.
Video8
The Video8 format appeared in the same year as VHS-C, and, along with the latter, enjoyed enviable popularity due to its even greater miniaturization. The film on the carrier is only 8 mm wide, and the dimensionsslightly smaller than the VHS-C form factor.
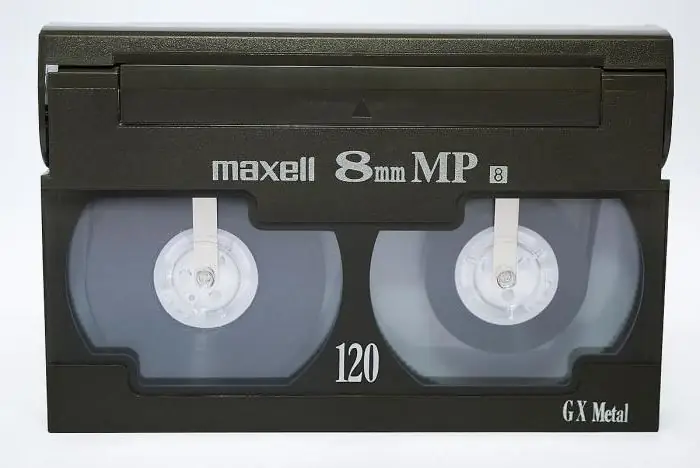
Recording quality is comparable to S-VHS, and the duration of shooting ranges from 60 to 90 minutes. As in the previous case, there are special adapters that allow you to use this form factor in conventional VCRs.
Next, consider the process of digitizing VHS-tapes to digital media.
What will it take?
The very first thing we need is a personal computer, and not with average performance. It is highly desirable that it has an impressive amount of free space on the hard drive. This is important because all data is processed in an uncompressed form, that is, it takes up a lot of space. Such an average option can be considered a hard drive with a capacity of 320 GB or more and a speed of 7200 rpm or more.
After digitizing the VHS tapes, the data will need to be uploaded somewhere, so it will be useful to take care of buying DVDs or flash drives. The first is better to buy with a capacity of at least 4.7 GB, and the second - from 8 GB. One disc is enough for a three-hour video sequence from a VHS cassette. Well, you can find a flash drive with 256 GB and digitize everything in a row without regard to free space. By the way, many experts are not so flattering about USB-drives, preferring the good old DVD-blanks. The fact is that flash drives have a noticeably low bandwidth compared to a disk, which delays the entire digitization process for a long time, and sometimes even leads to failures.
Required equipment:
- Laptop or personal computer.
- VCR.
- Cinch cable (RCA) (alternatively S-Video).
- Adapter/adapter (for modern video cards).
- External recording media (DVD, flash drive).
Programs for digitizing video streams work with almost all platforms, but in order to avoid any problems it is better to use the familiar Windows 7, 8 or 10 series. Exotic XP or something with the Server prefix does not guarantee correct support for such software.
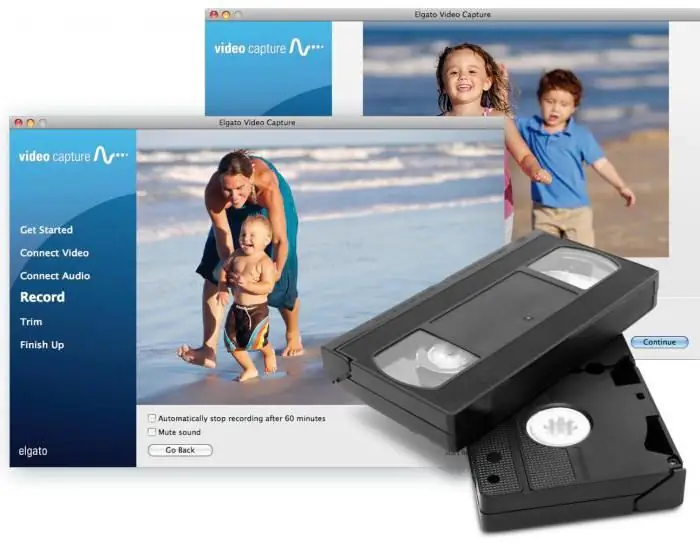
As for the specific performance of the computer, the packages for digitizing feel comfortable on the basis of Intel, starting with the i3 chipset, and on AMD with the A5 chip and higher. 4 GB of RAM is enough for most tasks, but if you want more speed, then you need 8 or 16 GB. The class and type of video card is not important (an office version with GDDR3 is also suitable), but the amount of memory should not be less than 1 GB. Modern cards are not equipped with an old interface for "tulips", so it would be useful to take care of an adapter for DVI->RCA or HDMI->RCA.
You can, of course, arrange the whole process on old machines, provided that the software for digitization starts, but then you will have to wait for the result for a very, very long time.
Digitizing utilities
The Windows platform in its professional (Pro) or Ultimate (Ultimate) version has built-in utilities for digitizing VHS cassettes and other media. It's called Movie Maker. The program processes the video sequence and immediately, as they say, without intermediaries, records it onthe specified disc, whether DVD or flash drive.
The Movie Maker utility is not distinguished by a variety of add-ons and functionality in general, so for those who want not just to digitize a stream, but to make some changes or additions along the way, we can recommend a versatile product - Nero. This is a whole complex for working with video and everything connected with it. The program is quite “heavy”, so problems may arise on weak PCs.
Also, many users note a product that is quite interesting for these purposes - Movavi. The software not only captures video from almost any source, but also provides the ability to convert the received digital data into popular video formats. You can also recommend simple, but at the same time functional utilities - EDIUS Pro 8 and AVS Video Editor 7.2. In general, you can find a lot of programs of this kind, so there should be no problems here.
Digitalization process
The first step is to connect the VCR to a personal computer or laptop. Capturing a video stream is carried out in most cases using a video card or a special tuner. The latter option is suitable for those who have an integrated rather than a discrete card.
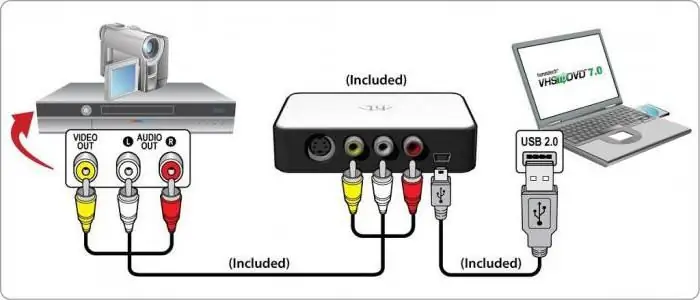
So, connect both devices via the RCA interface (you may need an adapter for new video cards) or S-Video output (you also need a sound card for a PC).
Then run the utility to capture the video stream. All of them work on a similar principle: we indicatesource (video card and / or sound card), stream resolution, frame rate and folder where the files will be saved. Some programs directly write files to external media without using a hard drive.
Tips
Before you digitize videocassettes, it is worth clarifying some details. The directory for saving the received files should not be located on the same disk as the operating system itself. This will significantly speed up the digitization process and eliminate any failures.
Most programs of this kind were originally conceived to work with three-hour VHS-cassettes and standard DVDs, so they compress the final data exactly for a volume of 4.7 GB. Be sure to specify the receiver you need (DVD-ROM), because in free digitizing, utilities do not care much about saving space on your disk, and the output is “as is”, and not what you needed.
You should also pay special attention to other processes in your operating system. The digitization procedure requires quite a lot of RAM and loads the computer's chipsets properly. Therefore, it is better to disable extraneous processes and not run anything in the background. Otherwise, the time spent on digitization may increase significantly.


