The article will cover instructions for replacing cartridges in laser and inkjet printers, as well as methods for refilling and repairing. A conventional laser printer cartridge is a complex mechanism that ensures that paper is fed and printed normally. Anyone who has ever de alt with imaging devices knows how to fix minor breakdowns - paper jams, even refills. But what to do if there was a breakdown, out of the ordinary? This will be discussed in our article.
Features of inkjet and laser printers
Inkjet printers, regardless of model and brand, are filled with liquid paints - and you need to fill in only those recommended by the manufacturer. If you use liquids that are not approved by the manufacturer, important components that are responsible for print quality can quickly become unusable. Moreover, the cost of the matrix, for example, is quite high -reaches several thousand rubles, depending on the printer manufacturer.
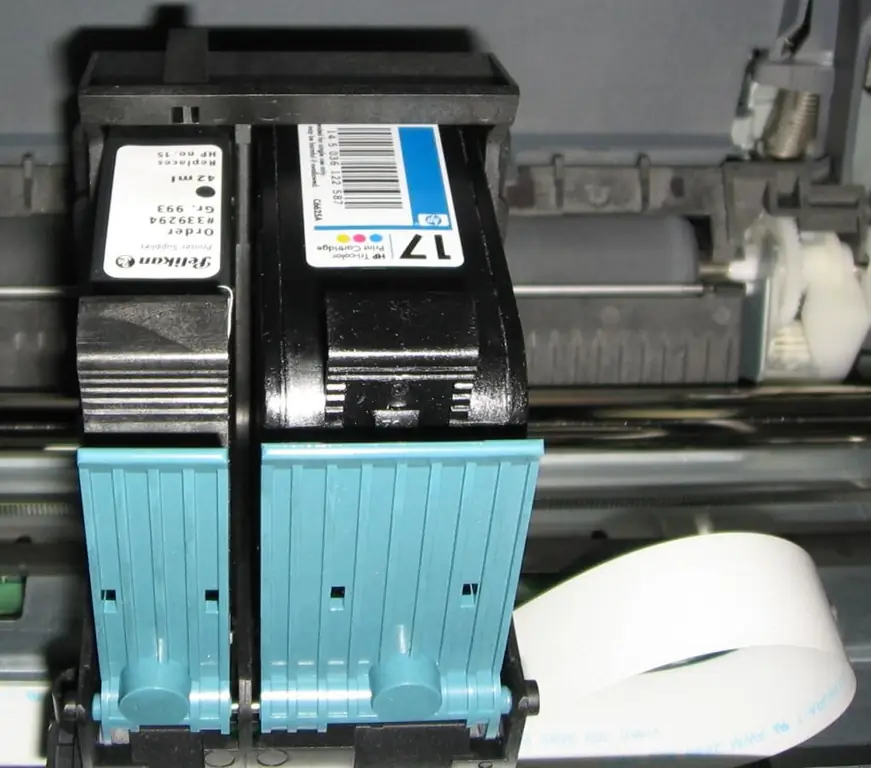
Laser printers are filled with special powders - toners. In this case, refilling with low-quality toner will also lead to sad consequences - you will have to completely repair the cartridge, and sometimes it’s even easier to install a new one. Any user, whether an accountant or an engineer, will be able to independently replace the cartridge in the printer. The essence of printing is that the toner warms up to a high temperature and is “pressed” into the paper, which is why it comes out hot.
Installing a new cartridge in an inkjet printer
You can use one manual to replace the cartridge in any printer, regardless of the manufacturer. The essence of the process is the same, and the design of the mechanisms too. To remove old elements and install new ones in their place, simply follow a series of steps:
- Open the lid that covers the cartridge compartment.
- If necessary, slide the cartridges towards the window. On some printer models, they are automatically installed in front of the window to make it easier to remove them.
- Press the latches and pull the cartridge up.
Please note that the replacement takes just a few minutes. Installation is in the reverse order. The main thing is that you can’t keep the printer without ink cartridges for a long time, as everything inside will dry out and the device will no longer be able to print.
Replacing an element in a laser printer
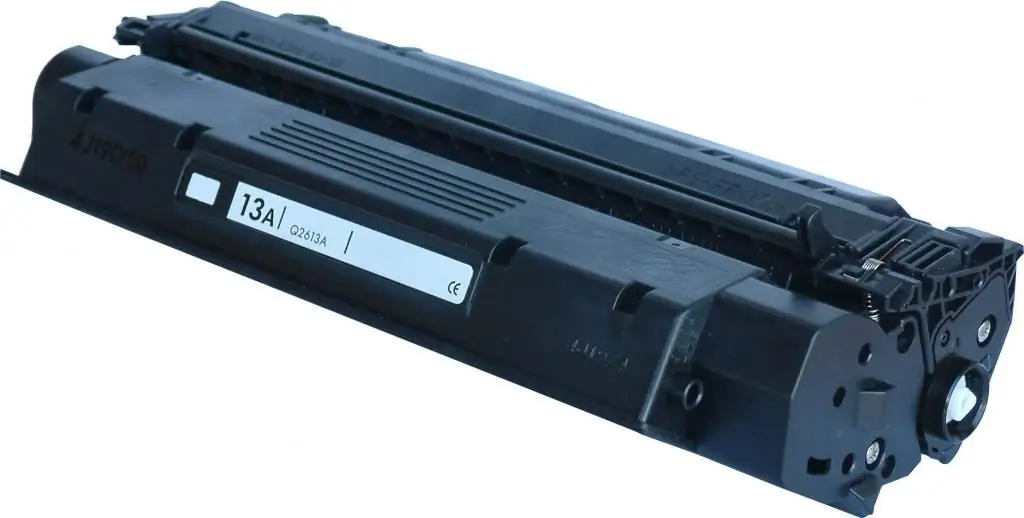
Before you install a new cartridge in a laser printer, you need to get rid of all shipping "attributes":
- Remove the pieces of foam that prevent the parts of the cartridge from moving. Such elements may not be on all cartridges, their availability depends on the manufacturer.
- Remove the films covering the rollers.
- Remove the protective film from the contacts on the side surface and the chip.
Carefully inspect the entire cartridge for any films or pieces of foam. Open the flap that covers the photoconductor - it should be perfectly clean and without damage. Only after you make sure that it is working, you can proceed with the installation.
Removing the old cartridge
But first, of course, you need to remove the old one - to do this, open the cover on the printer and, pulling the cartridge handle, take it out. The new one is installed in the reverse order - there is nothing complicated about it. Please note that sometimes when replacing Canon cartridges, a small nuisance arises - the printer starts to buzz, refuses to print, and you can hear that something inside is spinning non-stop. The reason lies in the chip - it is installed on the cartridge. To get rid of such a breakdown, put the chip from the old cartridge to the new one.
Refilling the laser printer cartridge
Sometimes, after replacing the cartridge, you need to refill it - initially it is 50-70% full, so the toner is produced very quickly. You need to pay attention to the fact that refueling is carried outin several ways, they depend on the specific brand of printer.
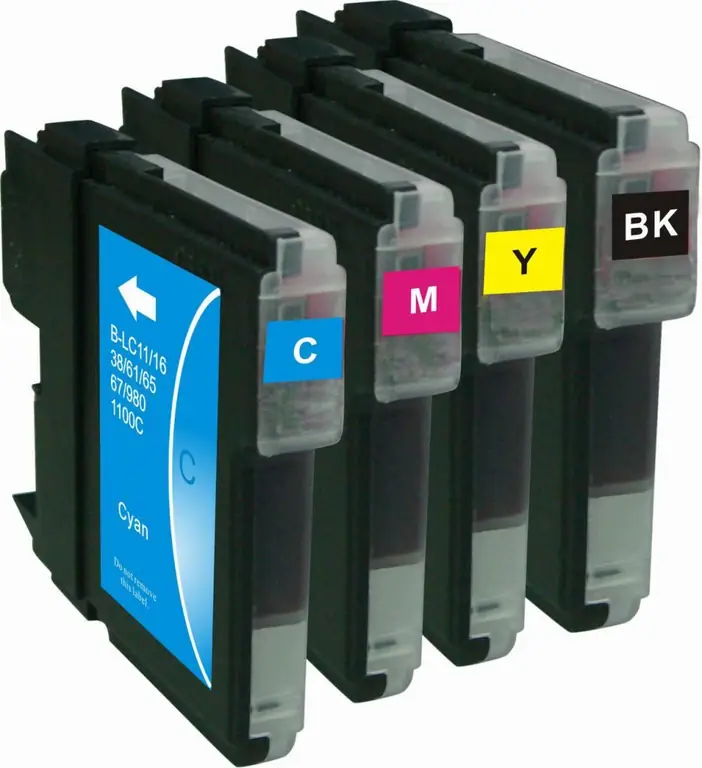
In any case, you need to perform the following manipulations:
- Remove cartridge.
- Disassemble the entire element.
- Empty toner from waste bin.
- Clean all parts from powder.
- Pour toner into the hopper.
It should be noted that not all cartridges can be easily disassembled - some will have to be tricky. Some craftsmen make holes in the bunkers and use them to refuel. After these holes are sealed with adhesive tape. But it is undesirable to do this, since there is no way to assess the condition of all elements of the cartridge.
Main cartridge failures
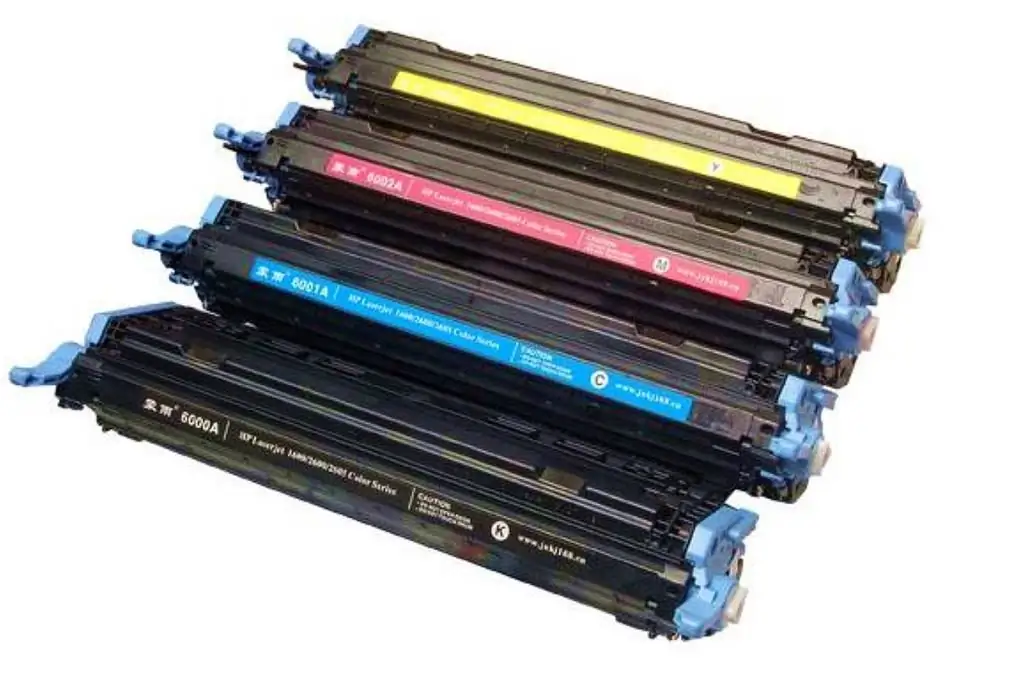
By the way the printer prints, you can identify the main problems of the cartridge. When refilling or replacing an Epson ink cartridge, the following types of print defects may appear:
- White image - This indicates that low quality toner has been refilled. This is the most common cause of faded print. But sometimes it also happens that the photoconductor becomes unusable. At the same time, if you look at it, you can detect defects - delamination of the coating, cracks, etc.
- A black bar anywhere on the sheet indicates that the mining bin is completely filled. Apparently, they forgot to empty it when refueling. In order to fix this breakdown, you just need to shake out the waste toner from the hopper.
- The printer does not take paper well - a malfunction in the pickup roller. It is made of rubber, which dries out over time. Therefore, paper contact is getting worse.
- Poor print quality, smudges, toner spills are a clear sign of a broken magnetic roller. Its active surface wears off, becomes unusable.
Which is better - repair or change?
After refilling and replacing the Xerox cartridge, you will need to install a chip card. This procedure cannot be avoided if the printer has not been "hacked". This greatly increases the cost of maintaining office equipment.
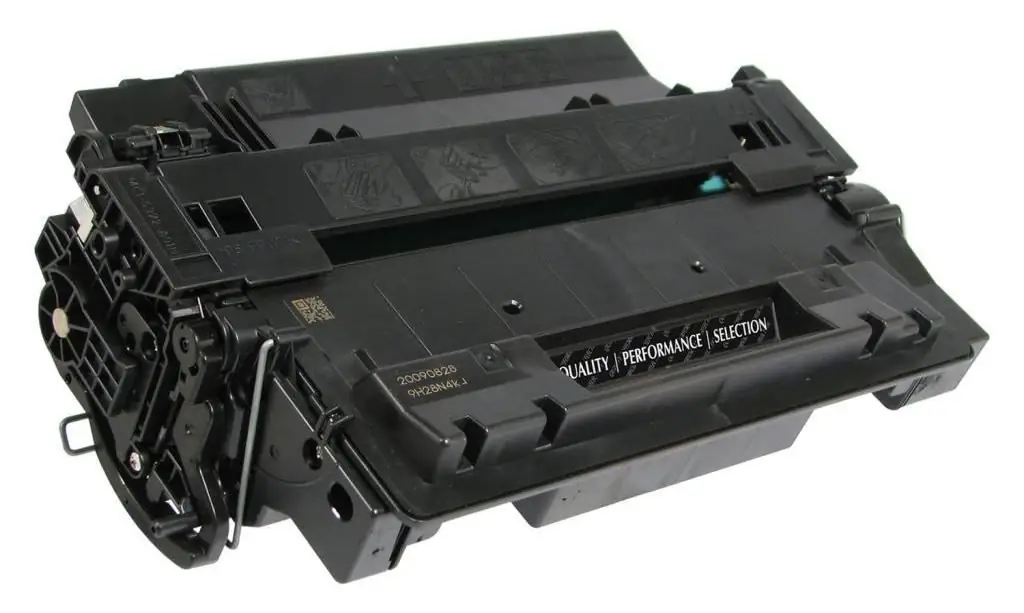
And now let's look at the cost of repairing one cartridge on the example of the popular model 729 or its analogues - 85A, 723, etc.:
- A photodrum will cost about 120-180 rubles when buying in a wholesale store. In a retail network, its cost grows by 2-3 times, it will cost about 300 rubles or more. The drum resource is no more than 3000-4000 pages - these are 3-4 full refills.
- The magnetic shaft also has a cost of about 100-150 rubles (for bulk purchases). In the retail network, it already has a price of 250 rubles and more. Its resource is slightly larger than that of the photo shaft.
- The pickup roller is perhaps the most "long-playing" part of the cartridge: it can last up to 5 refills if made of high quality material. The retail price is about 300 rubles, wholesale is a little less - 130-150 rubles.
- And small elements are blades that are installed on the photo shaft and the bunker for collecting waste. With their helpthere is a selection of "extra" toner when printing. The cost is up to 100 rubles apiece.
So, the cost of a complete repair of one cartridge, if you buy everything in a retail network, will be about 900 rubles. And this should be taken into account that there is no need to buy an additional chip or card. A new compatible cartridge costs 450-500 rubles.
Conclusion
Now you know how to replace the cartridge, refill it and repair it yourself. The work is simple, but painstaking and, frankly, quite "dirty". Try to carry out refueling in non-residential premises, protect your eyes and respiratory tract.
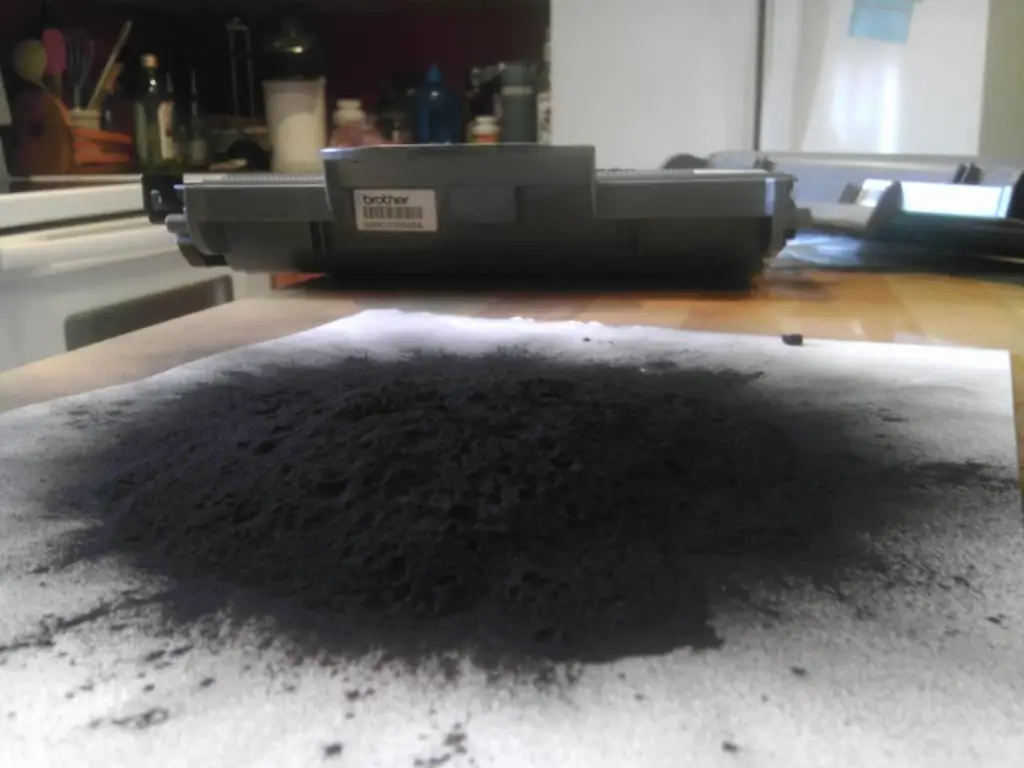
From a financial point of view, it will be profitable to engage in self-refueling only if you make bulk purchases of components. And only when the toner consumption is very high, for example, in a large office. As for home use, one refill is enough for several months. And a cartridge with moderate use can last for several years.


