Before you learn how to set up the radio, I would like to note the fact that all the actions that will be described in the article are designed only for users who have picked up this sound device for the first time. The guide is very simple, and there is nothing supernatural in it. Also an important condition for a well reproduced sound is the correct setting of the components. It is important to understand the installation of equipment and the proper operation of the sound system.
To make it easier to navigate in difficult terms, in the article we will set up the Pioneer radio, which is one of the simplest audio systems. The model has a long name Pioneer DEH-1900UB and was released quite recently - in 2017. Do not be afraid if the name does not match the above. There should be no questions about setting up the Pioneer radio, because all models are similar to each other and have an identical menu. The problem can only occur with processors that are different from their predecessors.
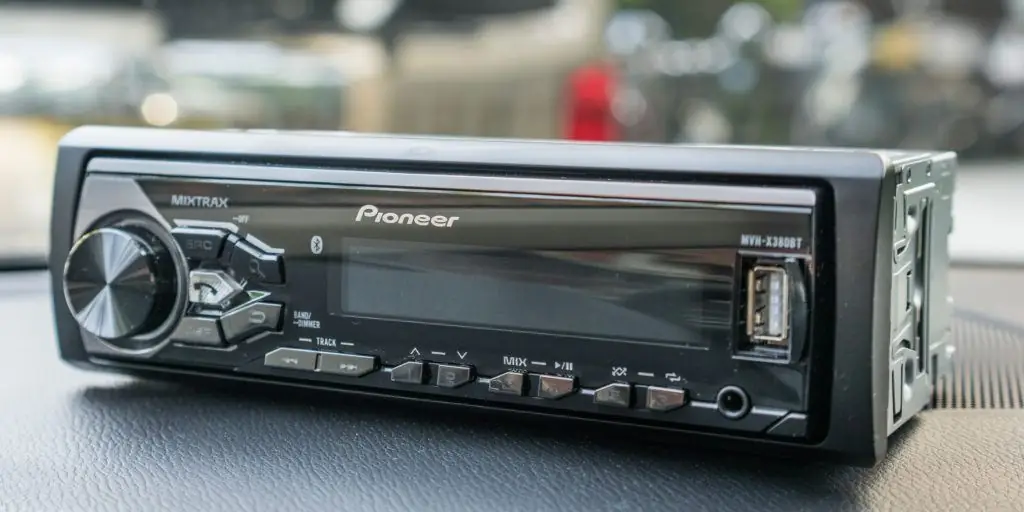
Equalizer
The first thing I would like to consider is the equalizer. It allows you to make the sound of music moresmooth, boost and lower bass frequencies and helps to adjust mid or high radio waves. But when setting up the sound on the radio, an important condition is that at first not the entire range is regulated, but only some frequency bands. Radio tape recorders differ from each other in these characteristics and can be of five types: 80, 250, 800, 2500, 8000 Hz.
Equalizer setting
To adjust the equalizer, you need to go to the main menu and find the EQ item in the "Audio" section. In it, by the way, you can choose the standard setting, if you do not want to understand further. For those who are determined to go all the way, inside this item is a whole set of user modes. You can switch from one to another through the menu, and through the joystick, which is installed next to the EQ.
First of all, you need to configure the frequency parameters by first selecting this item in the menu. Then, with a simple turn of the joystick, select the desired equalizer frequency. Then press the joystick again and adjust to a position that is more suitable for the soul. Values will range from -6, which means weakening, to +6, which means strengthening. If you strictly follow the above points, then you can make one of the frequencies louder and the other quieter.
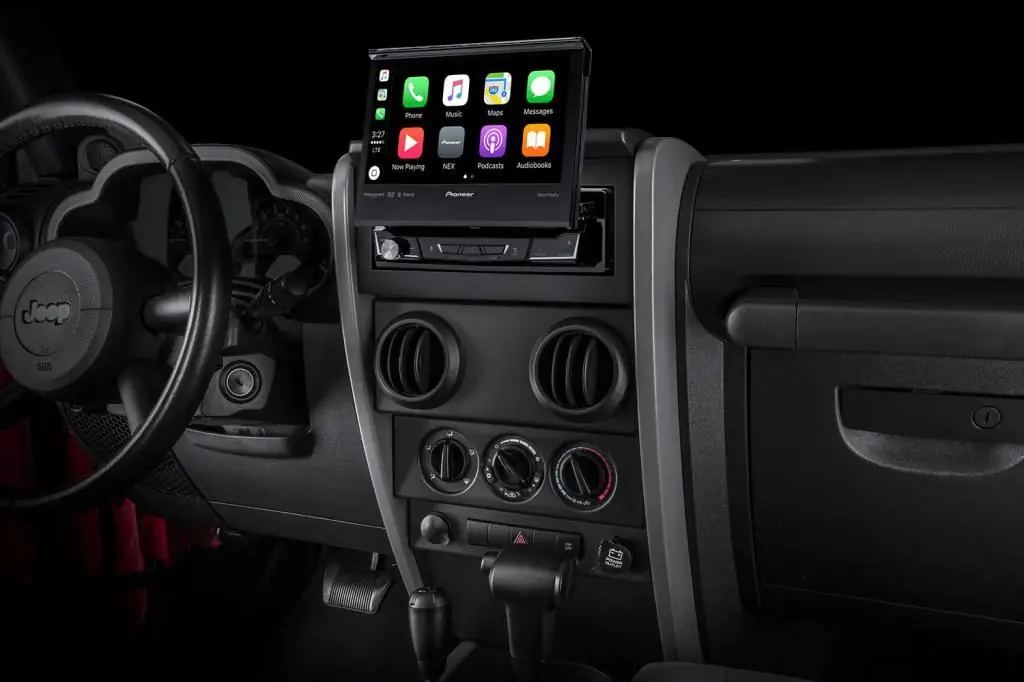
There are also radios with a navigator and a touch screen, which will not only set up all the equalizer functions with high quality, but also provide additional comfort when following.
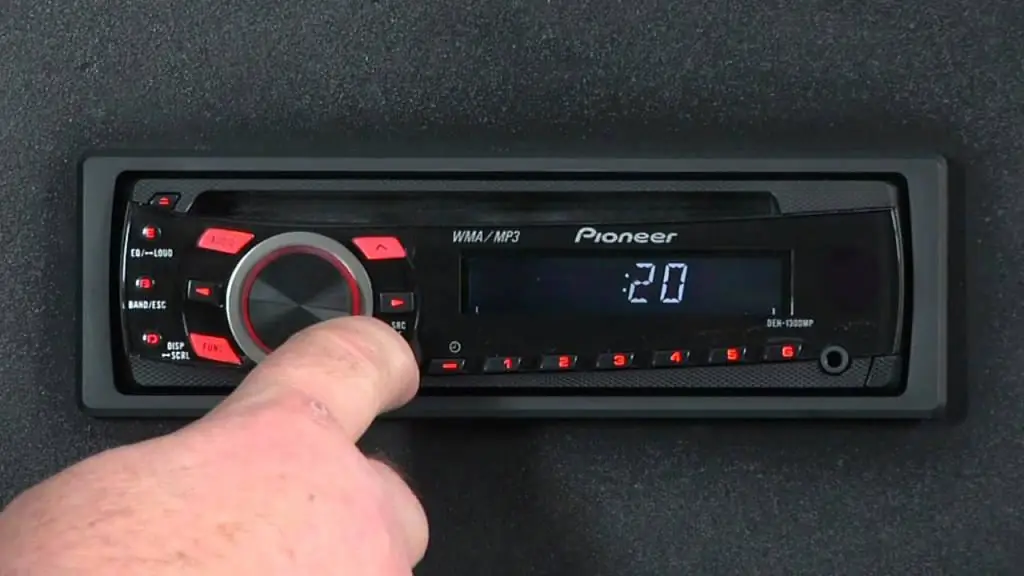
Music preferences
A certain taste onequalizer setting does not exist. Each person chooses certain modes to his ear, depending on what kind of music or what genres he likes. But if there are doubts, then I would like to give some tips for tuning to a certain musical style:
- For heavy music, it is recommended to boost the bass frequencies up to 80 Hz. Do not overdo it, it is better to leave it in the range from +1 to +3. Rhythmic or percussion instruments should sound around 250 Hz.
- For lovers of opera art, the joystick on the radio should be turned up to 250-800 Hz. It is also worth noting here that it is recommended to put male voices lower, and female voices higher.
- For connoisseurs of electronic music, a frequency of 2500-5000 Hz is suitable.
At the end of the section, I would like to note that setting the equalizer is an important procedure, and with this tool you can fine-tune the sound even if you have weak acoustic equipment in the car.
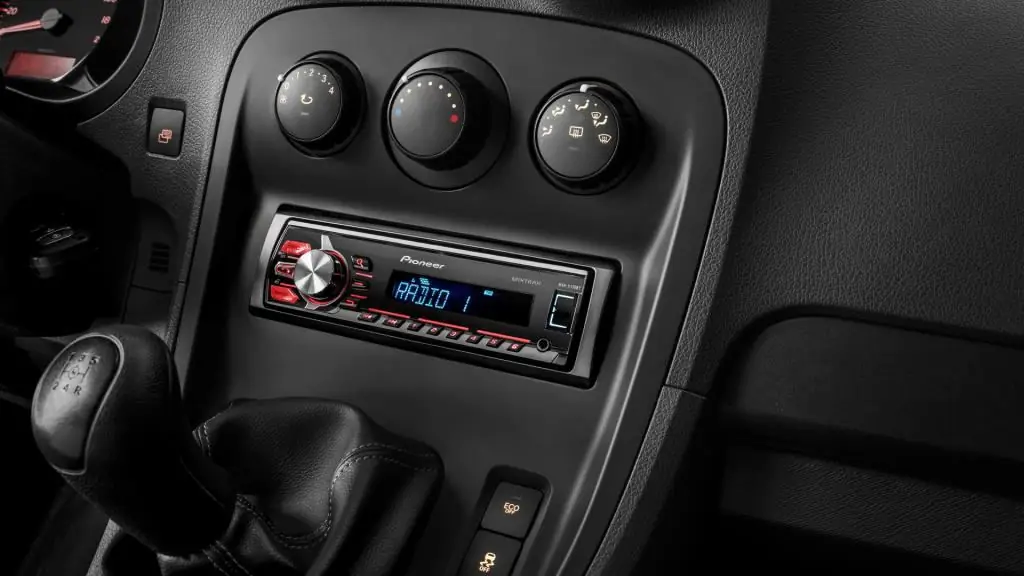
Frequency filter
Setting filters is no less important than adjusting the equalizer. If we consider the high-pass filter, then with the right settings, it will be able to cut off the interfering sound frequencies that are fed to the sound source. Filter adjustment is done because most cars have a small diaphragm on the audio amplifier, which makes the sound very bad even when not turned up to full volume.
To set up a high-pass filter, just go to the High-passFilter item and setfrequency 50 or 63 Hz. After setting, it is recommended to exit to the initial menu and check the result. It is best to perform the check at a volume of 30. If the quality of the published music is not satisfactory, then you can increase the limit to 80-120 Hz. But these adjustments are best done gradually, otherwise the sound will become even worse than it was. Pioneer radios also have a frequency attenuation adjustment mode. It has only two positions - 12 and 24 dB. It is best to make a choice on the latter.
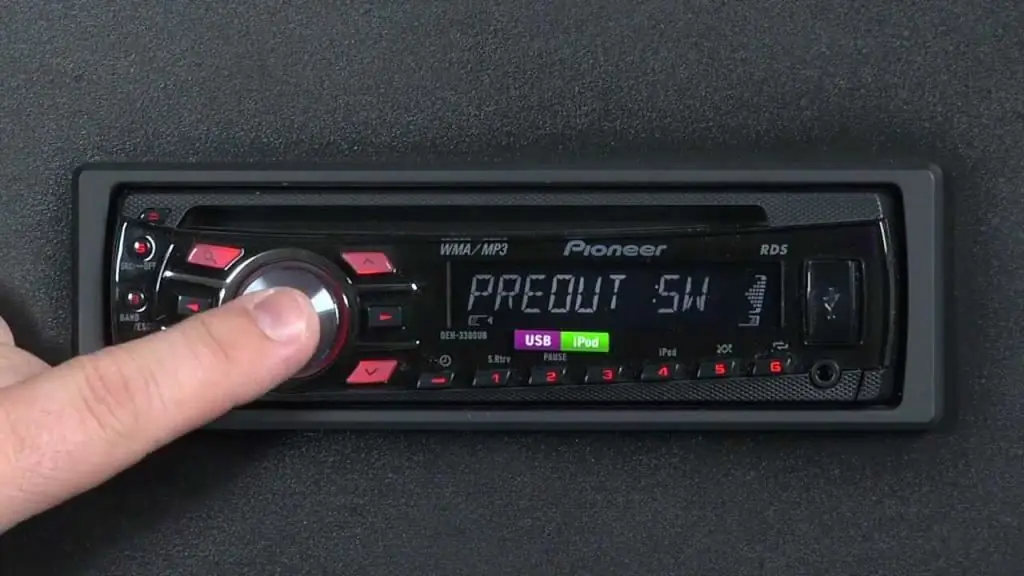
Low pass filter
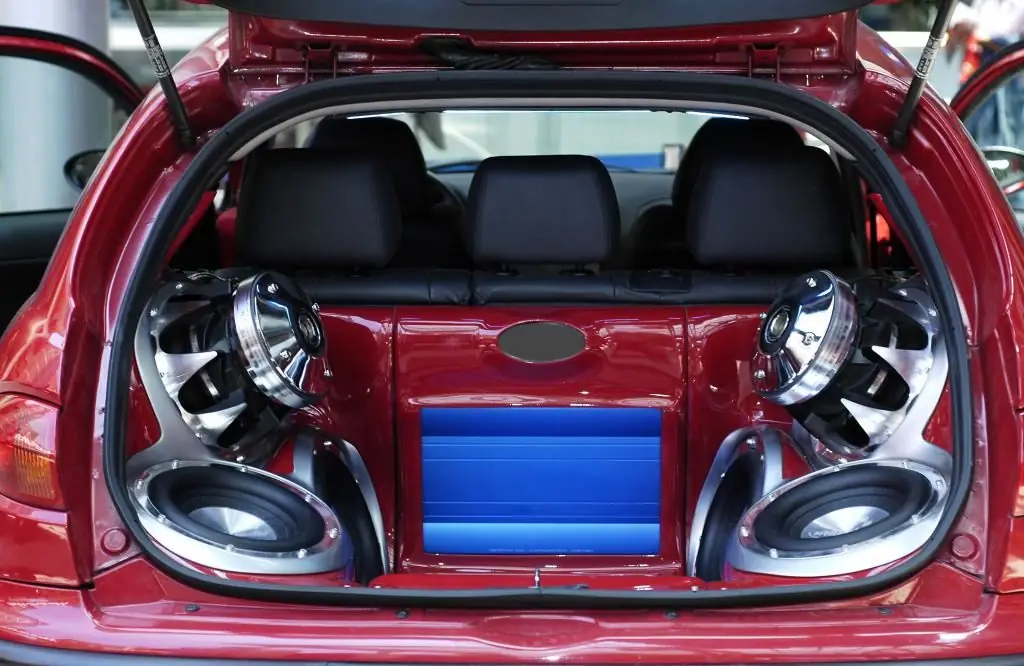
After setting up the internal speakers, you can start setting up the subwoofer, with which the radio interacts well. For installation, you will already need a low-pass filter, which will help dock the buffer and speakers.
The operation of setting up the radio for a subwoofer requires care. After the bass has been removed from the speaker system, you can hear loud and high-quality sound. Then, as mentioned earlier, you need to connect our subwoofer to the speakers. To do this, go to the menu and select the section in which the buffer setting takes place.
There are three items in the menu itself:
- Cutoff frequency. If you figure it out, then there is nothing complicated. There is no specific value, but it is still recommended to set it in the range from 63 to 100 Hz.
- Volume. There is no need for unnecessary explanations, and the person himself has the right to choose what power is right for him.
- Frequency damping slope. There is a slight resemblance toequalizer because they both have two modes - 12 or 24. As in the previous case, it is recommended to set to 24.
Radio tuning
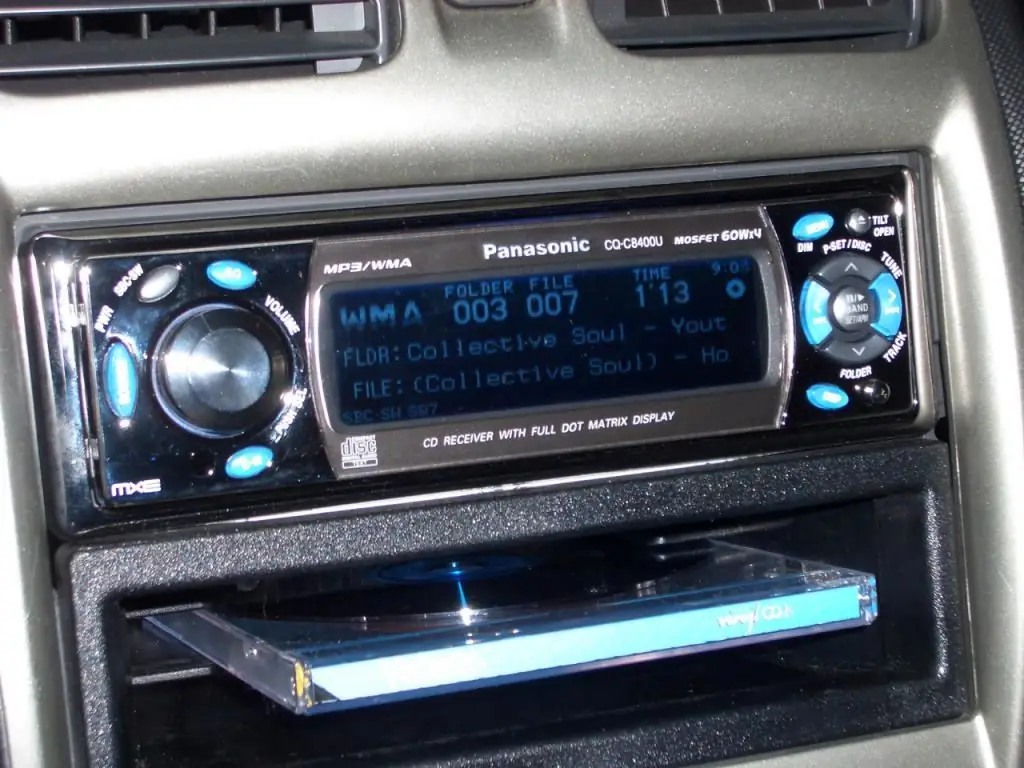
No matter what anyone says, but the music downloaded to the flash drive can soon get bored and no longer evoke those emotions that were at the very beginning of using the radio. Many drivers still prefer to listen to radio broadcasts while on a trip. If you take the radio "Pioneer", then setting up the radio there is as easy as shelling pears. You just need to select the desired band and specific stations.
There are three ways to tune the radio:
- Auto setting. To perform this simple operation, just find the BSM item in the menu and select automatic search. After a few minutes, the radio will find the highest quality stations and offer to select them from the listed list. If the list does not suit you, then you can lower the requirements, and then the radio will go to reduce the frequency and select lower quality broadcast channels.
- Semi-automatic setting. While in the radio tuning mode, you need to hold down the "Right" button and wait a few seconds. Then, scanning will take place on the radio screen, and the system will perform almost the same actions as with automatic. The only difference will be that you don't need to adjust the frequency.
- Manual setting. In this mode, you should press the familiar "Right" button several times and switch to a specific frequency. After that, all found stations will be stored in memory.
In total, about 18 radio stations can be stored on the radio, which are switched at the touch of a button.
Demo mode
After purchasing the long-awaited device, the user needs to learn how to reset the settings on the radio from the demo mode. In general, it is intended for previewing the operation of the device in the store, but this mode is in no way suitable for stable operation. Of course, it can be used, but the constantly fading screen and running information is unlikely to give pleasure.
The mode is turned off using the following technology:
- you need to go into the hidden menu and turn off the radio by simultaneously pressing a special button called SRC.
- move the joystick to the DEMO item and move the arrow to the off mode.
Set date and time
You can also set the date and time in the settings menu. There is a special "Clock setting" function, where you can select a convenient display format and set the date and year with the joystick wheel.
Drawing a conclusion from the article, we can say that you can do the radio setup yourself, without resorting to the help of specialists. Correctly performed actions will give high-quality sound and excellent sound effect even on the cheapest equipment.


