Joomla is one of the most popular CMS along with Drupal and WordPress. Designed to create business card sites, landings. Not recommended for creating news portals and social networks.
Provides the ability to manage content in a variety of ways. Through the graphical interface or using the HTML editor, you can add new articles and correct existing ones.
Unlike "Wordpress" contains fewer free templates. Some examples only work if the required plugins are present. For example, a template such as JM Modern VirtueMart Store requires the mandatory installation of the EF3 plugin.
Installation
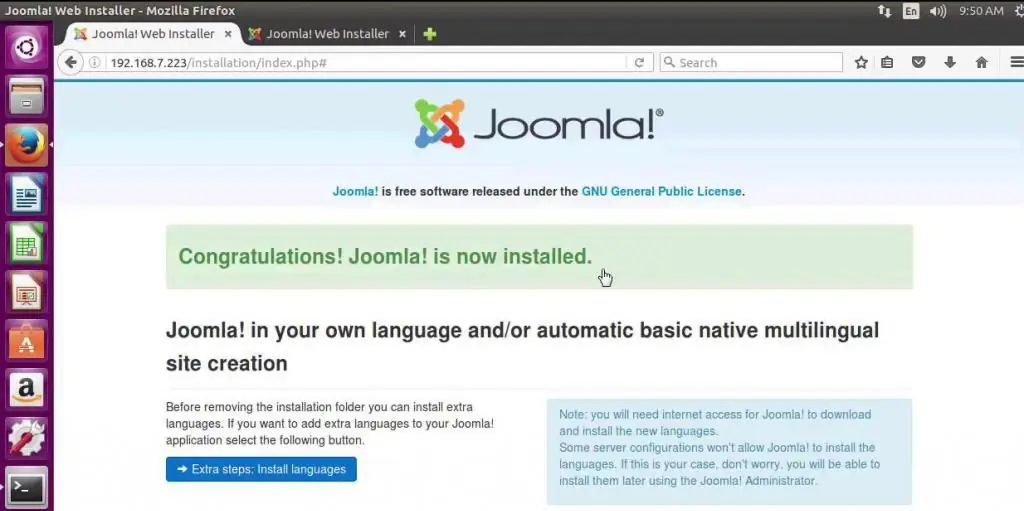
"Jumla" must be installed on your own hard drive - if you plan to run CMS on a local machine for testing or hosting - for a real start of the project. If any of the hosts requires manual installation of Joomla packages, you first need to unpack the archive and install it on your computer. Before doing this, make sure that the software installed on the host meets the minimum requirements.
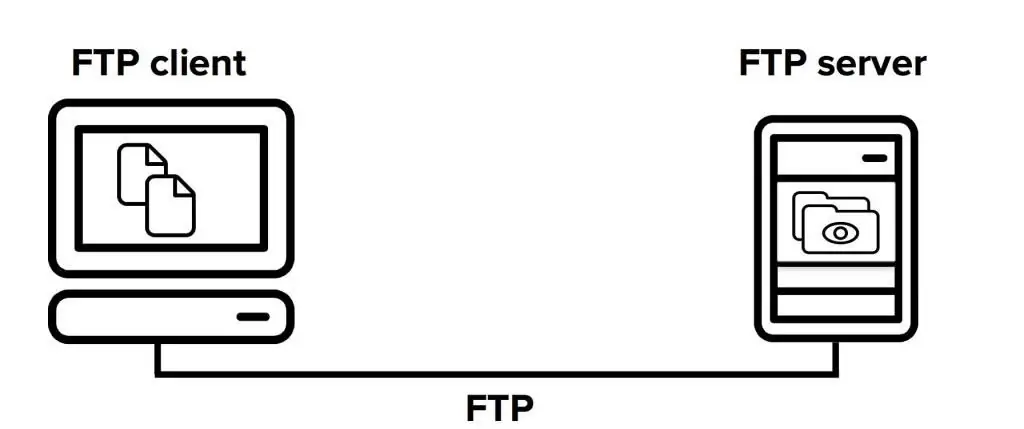
Installation is quite simple: you needclick on the installation file and follow the instructions. You can then use an FTP client to upload files to the server.

You will need to enter information about the site, set up a connection to the database. Joomla 3.8 template installation starts after installing the CMS itself.
First step: site information
This page contains basic information about the site and the administrator.
- The name is being written. This is a required parameter.
- Next, you need to write a brief description of the site. The optimal size is no more than 20 words. Although this part is optional, it must be completed.
- Indicates the administrator's address, login, password.
There is a switch at the bottom that puts you in maintenance mode.
Second step: setting up database access
This step sets up a database connection.
- Select the type of database. The default is MySQL.
- Then select the server name. When you plan to install on a local machine, enter localhost in this field. If full-fledged work with hosting is supposed, the server name is entered. The hoster sends this data to the mail after buying a place on the server.
- Specify a username, choose a password.
- Fit the name of the database. This value is given by the hosting provider or is configured independently when creating the database.
If the base was previously, you can rename or delete it to create a new one.
Third step:completion of installation
In this tab, the administrator can double-check the specified data. In addition, information about the PHP version, support for various features, basic settings is displayed here.

If the user has never worked with Joomla and wants to test the Joomla 3 template installation, he can install the demo data for learning. By default, after the installation is completed, these parameters will be sent to the specified address. This can be turned off if desired.
Admin panel
All work in the control system takes place through the administrative panel. It is quite understandable even without reading the manuals. The panel can be divided into 7 components.
- System. Designed to manage general settings, contains basic information.
- Users - edit profile, create and configure groups.
- Menu - adding menu items, modifying existing ones.
- Material manager - content management.
- Components. This category is needed in order to customize and create banners, update information.
- The tab searches for and installs the necessary plugins, modules, work with the database.
- Help contains information about the system.
To start installing the Joomla template you need:
- log in admin panel;
- go to the "Extensions" tab;
- select the menu item "Extension manager".
The page that appears contains three tabs:install from JED, download package file, install from directory, install from URL.
Loading package
This tab is used to upload the necessary files to the server. To do this, you can use standard tools or work through an ftp client.

Procedure for using CMS tools.
- The "Browse" button calls the file manager, through which you need to select the desired file on your hard drive.
- To download, you need to click the "Download" and "Install" button. Estimated process time is 1 to 3 minutes.
- After successful completion, a notification appears.
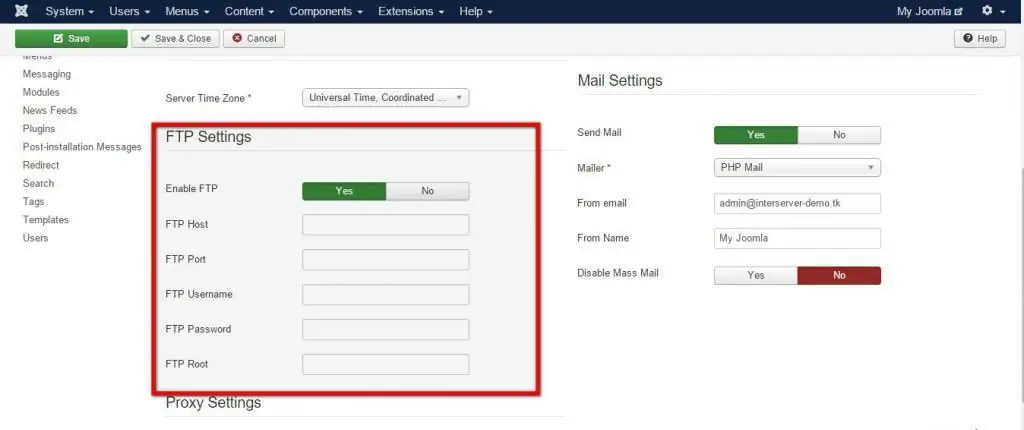
The ftp download function must first be activated, which is done in the settings. To connect the FTP client to the server, you need to specify the URL link in the FTP host tab. You will also need a login and password - the information is specified in "FTP Username" and "Password for FTP".
Installing the Joomla template
Jumla provides three ways to install a template:
- from JED;
- from catalogue;
- from URL.
JED is a directory of Joomla extensions. Used to install plugins, templates from the Joomla store. To install the template you like on your site, you need to click on it, click the install button, pay as needed.
The option to install a joomla template from a directory involves installing an already unpacked archive, which is located in one of the site folders. ForFirst, in the "Install from directory" tab, you need to enter the name of the directory, click the "Install" button.
If one of the templates is already stored on the server, its URL can be used as the installation address. To do this, go to the install from URL tab, enter the address in the appropriate field, click the "Install" button.
Initial setup
After downloading and installing the Joomla template, the initial settings are made.

- The "Menu Binding" tab specifies the items for which the template is applied.
- Select a style name.
- Next, you need to go to the "Advanced Options" tab. By default the template loads bootstrap and jQuery - this function can be overridden.
- Select fonts, specify additional styles.
- In the logo settings, the logo display is configured, the position, logo text, alignment, and other CSS settings are indicated.
Style settings may vary depending on the design of the selected templates. Joomla 3.6 template installation instructions are universal, apply for each case.


